Tuesday, May 31, 2011
Creamy Chicken Taquitos
I followed her suggestion and added roasted red peppers and some black olives.
They were definitely a hit at Bunco, and I plan on making them again! They also freeze well, so they’re a good quick dinner with a side salad.
Go check out the recipe here.
Thursday, May 26, 2011
It's Almost Time!!!
Well, next week the renovation is happening! It should be done just in time for my birthday next week!
I am so excited about seeing this design in place.
Here's a sneak peek of her design:
Remember, if you're interested in having your own E-design, email me at MissSusieHomemaker@gmail.com.
Sunday, May 22, 2011
Giveaway Winner!
Congratulations to Dave and Rebecca!
Stay tuned for the results of their E-design!
Thursday, May 19, 2011
When I grow up
We're here in The Villages, which is about an hour away from Orlando. I haven't experienced the atmosphere here before- but man, I totally want to be this cool when I grow up.
They drive golf carts instead of cars! For every car we saw parked, there were at least 30 golf carts. And this is not your father's golf cart either.
Look at these babies...
I even saw Jeep and Corvette models!
The maroon Rolls will only set you back 15K. ONLY!
Like I said, when I grow up!
Back on Saturday with the winner of the GIVEAWAY!
Monday, May 16, 2011
What’s an E-Design?
You may be wondering what an E-design actually looks like. Well, to satisfy your curiosity, here is an E-design I did for a pretend male client’s bedroom. Since Prince Charming hasn’t actually LET me design anything for him, this is just an imaginary concept.
So the setup: This client wanted a sophisticated contemporary bedroom design that would impress and match the rest of the house. He wanted to incorporate his abstract photography as artwork for the space. And he had $500 to spend on this project’s materials. The apartment is short on storage, so currently all his tools are stored in the corner of the bedroom.
Here’s his concept board:
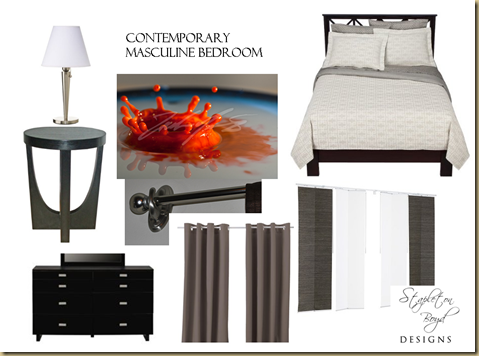
The existing bed is kept and updated with dark chocolate paint. The same dark chocolate paint will be used on an Ikea Rast dresser with contemporary silver hardware to look like the dresser in the bottom right.
The side of the bed towards the door gets a contemporary round table for style. Both nightstands get silver nightstand lamps.
The window gets a no-nail curtain rod with 3M Command hooks and a cafe rod. Ikea grommet curtains block the morning sun after those late nights!
The tool storage area gets partitioned off with ceiling-hung track and panel curtains.
Contemporary bedding, like this Thomas O’Brien set from Target, sets a graphic tone to the “beige box” of apartment living.
With all the neutral tones in the space, the bright orange abstract artwork becomes the focal point.
Here’s a floor plan for reference:

Now, for the Really important part- the budget:
A true E-design would get a list of sources with item numbers and exact pricing. This budget came in at $497, just under budget. The splurges in this space are the duvet cover, large artwork, and the round accent table, coming in at over $50 each.
In addition to the concept board, floor plan, and sourcing, E-design clients will also get elevations of any intricate focal walls, such as built-in cabinetry or an artwork gallery wall.
If you’d like your own E-design, enter the Giveaway! Or email me at MissSusieHomemaker@gmail.com
Sunday, May 15, 2011
Giveaway extended!
Since Blogger decided to mess up last week, and since my giveaway has very low entries, I am going to extend the deadline for entries until midnight May 20, 2011. So now you have until midnight Friday to enter.
Wednesday, May 11, 2011
Spray Painted Lamps
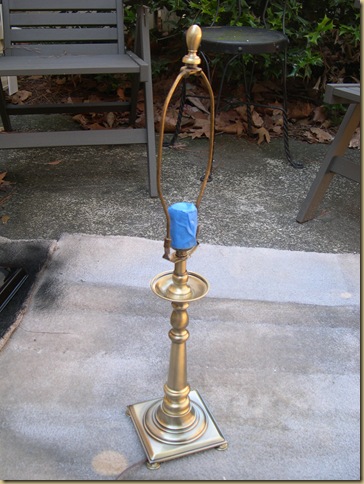
First, I taped off everything electrical.
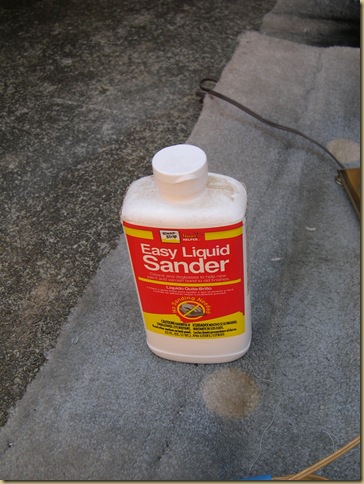
Then, I used liquid sander to degloss the surface so the spray paint would stick. If you’ve never used it before, this stuff is AWESOME!
Then came two light and even coats of spray paint in a satin finish.
I love how it adds a fun punch of color to the space and updates an old lamp into something fun and exciting!
I also did a turquoise lamp to add fun color to my
entryway!
Monday, May 9, 2011
Awesome Stair Idea
On their back stairs, instead of painted or stained risers, they chose to use this very cool glass tile. I love the unique feel this brings to the home, as well as the extra pop of color!
What fun ideas have you seen in design lately?
Wednesday, May 4, 2011
My First Giveaway!
If you’ve been living under a rock, you might not know that Mandi at Vintage Revivals is giving away a makeover.
And wow, some of my favorite bloggers REALLY want to win…
Like..
Kim aka the girl with the glue gun

and
Michelle at Someday Crafts

And this got me thinking… Wait. I’m a designer. I do this stuff for A LIVING. A LIVING people.
And while I’m not as cool as Mandi to have sponsors to give me money to give you a makeover a la Trading Spaces, I do have skills. And I’ve found, a lot of times what you need is a concept.
So here’s the details:
I will give away one E-design of a room of your choice to one lucky winner chosen by random.org.
What’s a E-design?
Basically, you and I have a chat about your room, your family, your life, and what you love/ don’t love/ want to keep/ want to trash. And oh, that all important thing, money. You send me pictures of all four walls of your space, and as many measurements as possible.
Then, you get:
A floor plan showing a suggested furniture layout
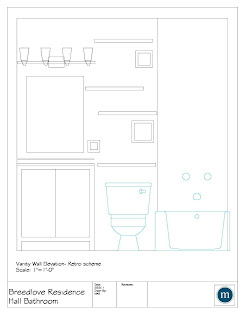
Elevations of any walls that get a special treatment (like gallery walls, media walls, etc.)
A concept board showing your design scheme
Sourcing and pricing for everything I show on your concept board.
Then, it’s up to you to implement your design. Do it yourself, hire it out, take one week or one year, it’s all about what you can afford. Financially and emotionally. Interior design is not worth a divorce. just saying.
Most designers charge at least $150 for this, some as much as $2000! And it could be yours for free!
So here’s how to enter:
1. You must be a follower of this blog. One entry per person please :).
2. You must be willing to have your project featured here on the old blog.
3. Leave me a comment telling me what room of yours you REALLY want to get a makeover.
The Giveaway will end on May 13,2011, with the winner announced on May 14.
If you don’t win, you can still email me at MissSusieHomemaker (at) gmail (dot) com for an E-design. Click on the “Interiors” tab for pricing.
Good Luck!
****UPDATE: The Giveaway has been extended until Midnight ET on May 20,2011****
Linked to:

Tuesday, May 3, 2011
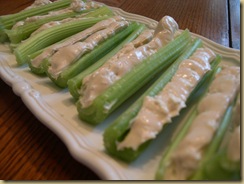
Tasty Tuesday- Buffalo stuffed celery
It’s Tasty Tuesday time again!
I love wings, but I always think about how bad for you they are every time I eat them. I was so glad when I found this recipe!
This is a recipe I found on weightwatchers.com, but I LOVE it for grilling, tailgates, super bowl parties, basically anywhere wings can be found. It’ s a great healthy alternative to fried wings, but still gives you all the wing flavors! I’m sure it’d be great alongside wings if you’re not watching your figure.
In a small bowl, mix together:
2 oz softened blue cheese (or some ranch powder if you prefer ranch with your wings)
1/2 cup light cream cheese, softened
1/2 tsp garlic salt
Frank’s hot sauce to taste
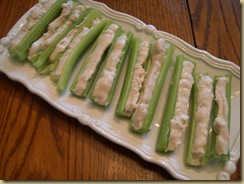
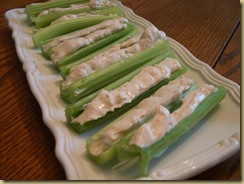
Once it’s all combined, put it into a zip-top bag and snip off one corner. Pipe the cheese mixture into celery sticks.
Put them on a plate and serve.
Easy, yummy, healthy. What more could a girl ask for?
Monday, May 2, 2011
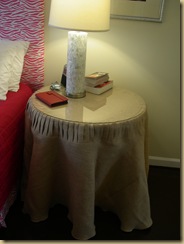
Burlap Table Skirt
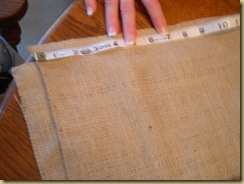
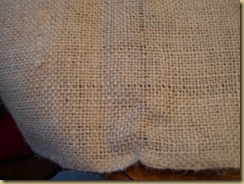
Measure the width of your strip and make a small 1/2” or less snip to mark the spot. Pull the thread to create a straight line, and cut on this line to get your straight strip.
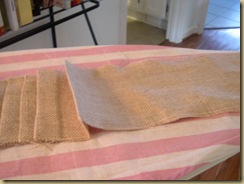
Iron pleats in your hem. You can either do them regularly spaced, or make it random for a more casual look.
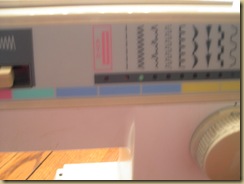
Then sew the pleats down using a zig-zag stitch.

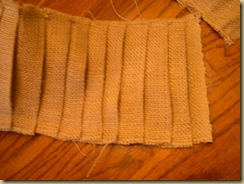
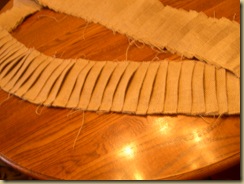
When you’re finished, you will have a long strip that looks like this. In order to ensure you have enough to go around, you will have to do some math. You need enough to go around the circumference of your circle (that’s 2piR for your geometry refresher) * 2-3 depending on your pleats.
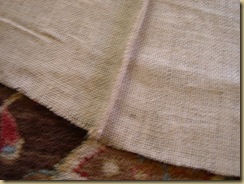
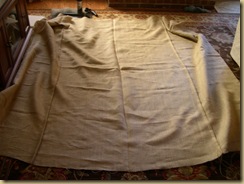
Next, sew widths of the burlap together so that it is at least as wide as your total tablecloth (drop + top round+ drop) (ignore the ruffle height, so you’ll have some flub room).
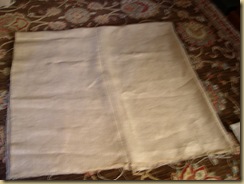
Fold your big ol’ piece of burlap into quarters.
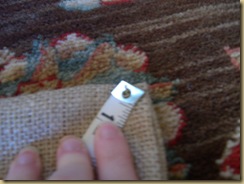
At the folded corner, pin your tape measure.
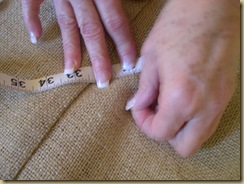
Make your first mark at what I’m going to call point A. Point A will equal the radius of your circle + seam allowance+ seam allowance.
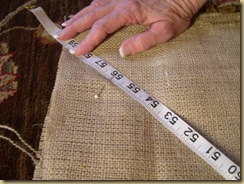
After you’ve made marks across at Point A, now on to Point B. Point B is the drop of your skirt – the ruffle + seam allowance + hem.
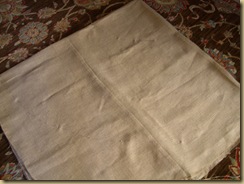
When you’re done, you will have a piece of burlap with a bunch of pins.
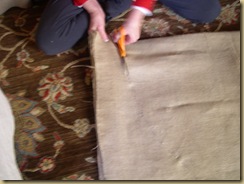
Now play connect the dots. Gee, isn’t this fun?
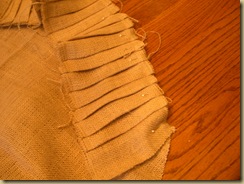
Take your top Round (which you cut out along Points A). and pin the ruffle to it.
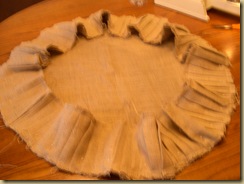
Sew using a zig-zag stitch for stability.

You’ll have a blob like this when you’re finished.

Next, take the piece you cut along Points B, and pin it to the other side of your ruffle. Sew this using a zig-zag stitch.
Now, all you have to do is hem, and put it on display!
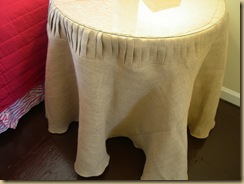
Here’s the finished product. I have to give major kudos to Mom and her awesome sewing skills, because my brain just couldn’t figure this out!
Linking up to:


